Example Asbestos Removal Projects in Antioch

Each example walks through one asbestos job, from the lab test to the cleanup, with the house, what tested positive, how the material comes out, how long it takes and roughly what it would cost. About four in ten Antioch homes were built before 1980 and close to 2,000 before 1950, so the examples run from a 1920s basement to 1970s ceilings.

None of these is a real job, client or address. Each example is assembled from Antioch-area house ages, the usual order of work and this year’s price ranges, to give you a fair picture before you call.

Pipe insulation off before a plumber reroutes the heating pipes

Example project
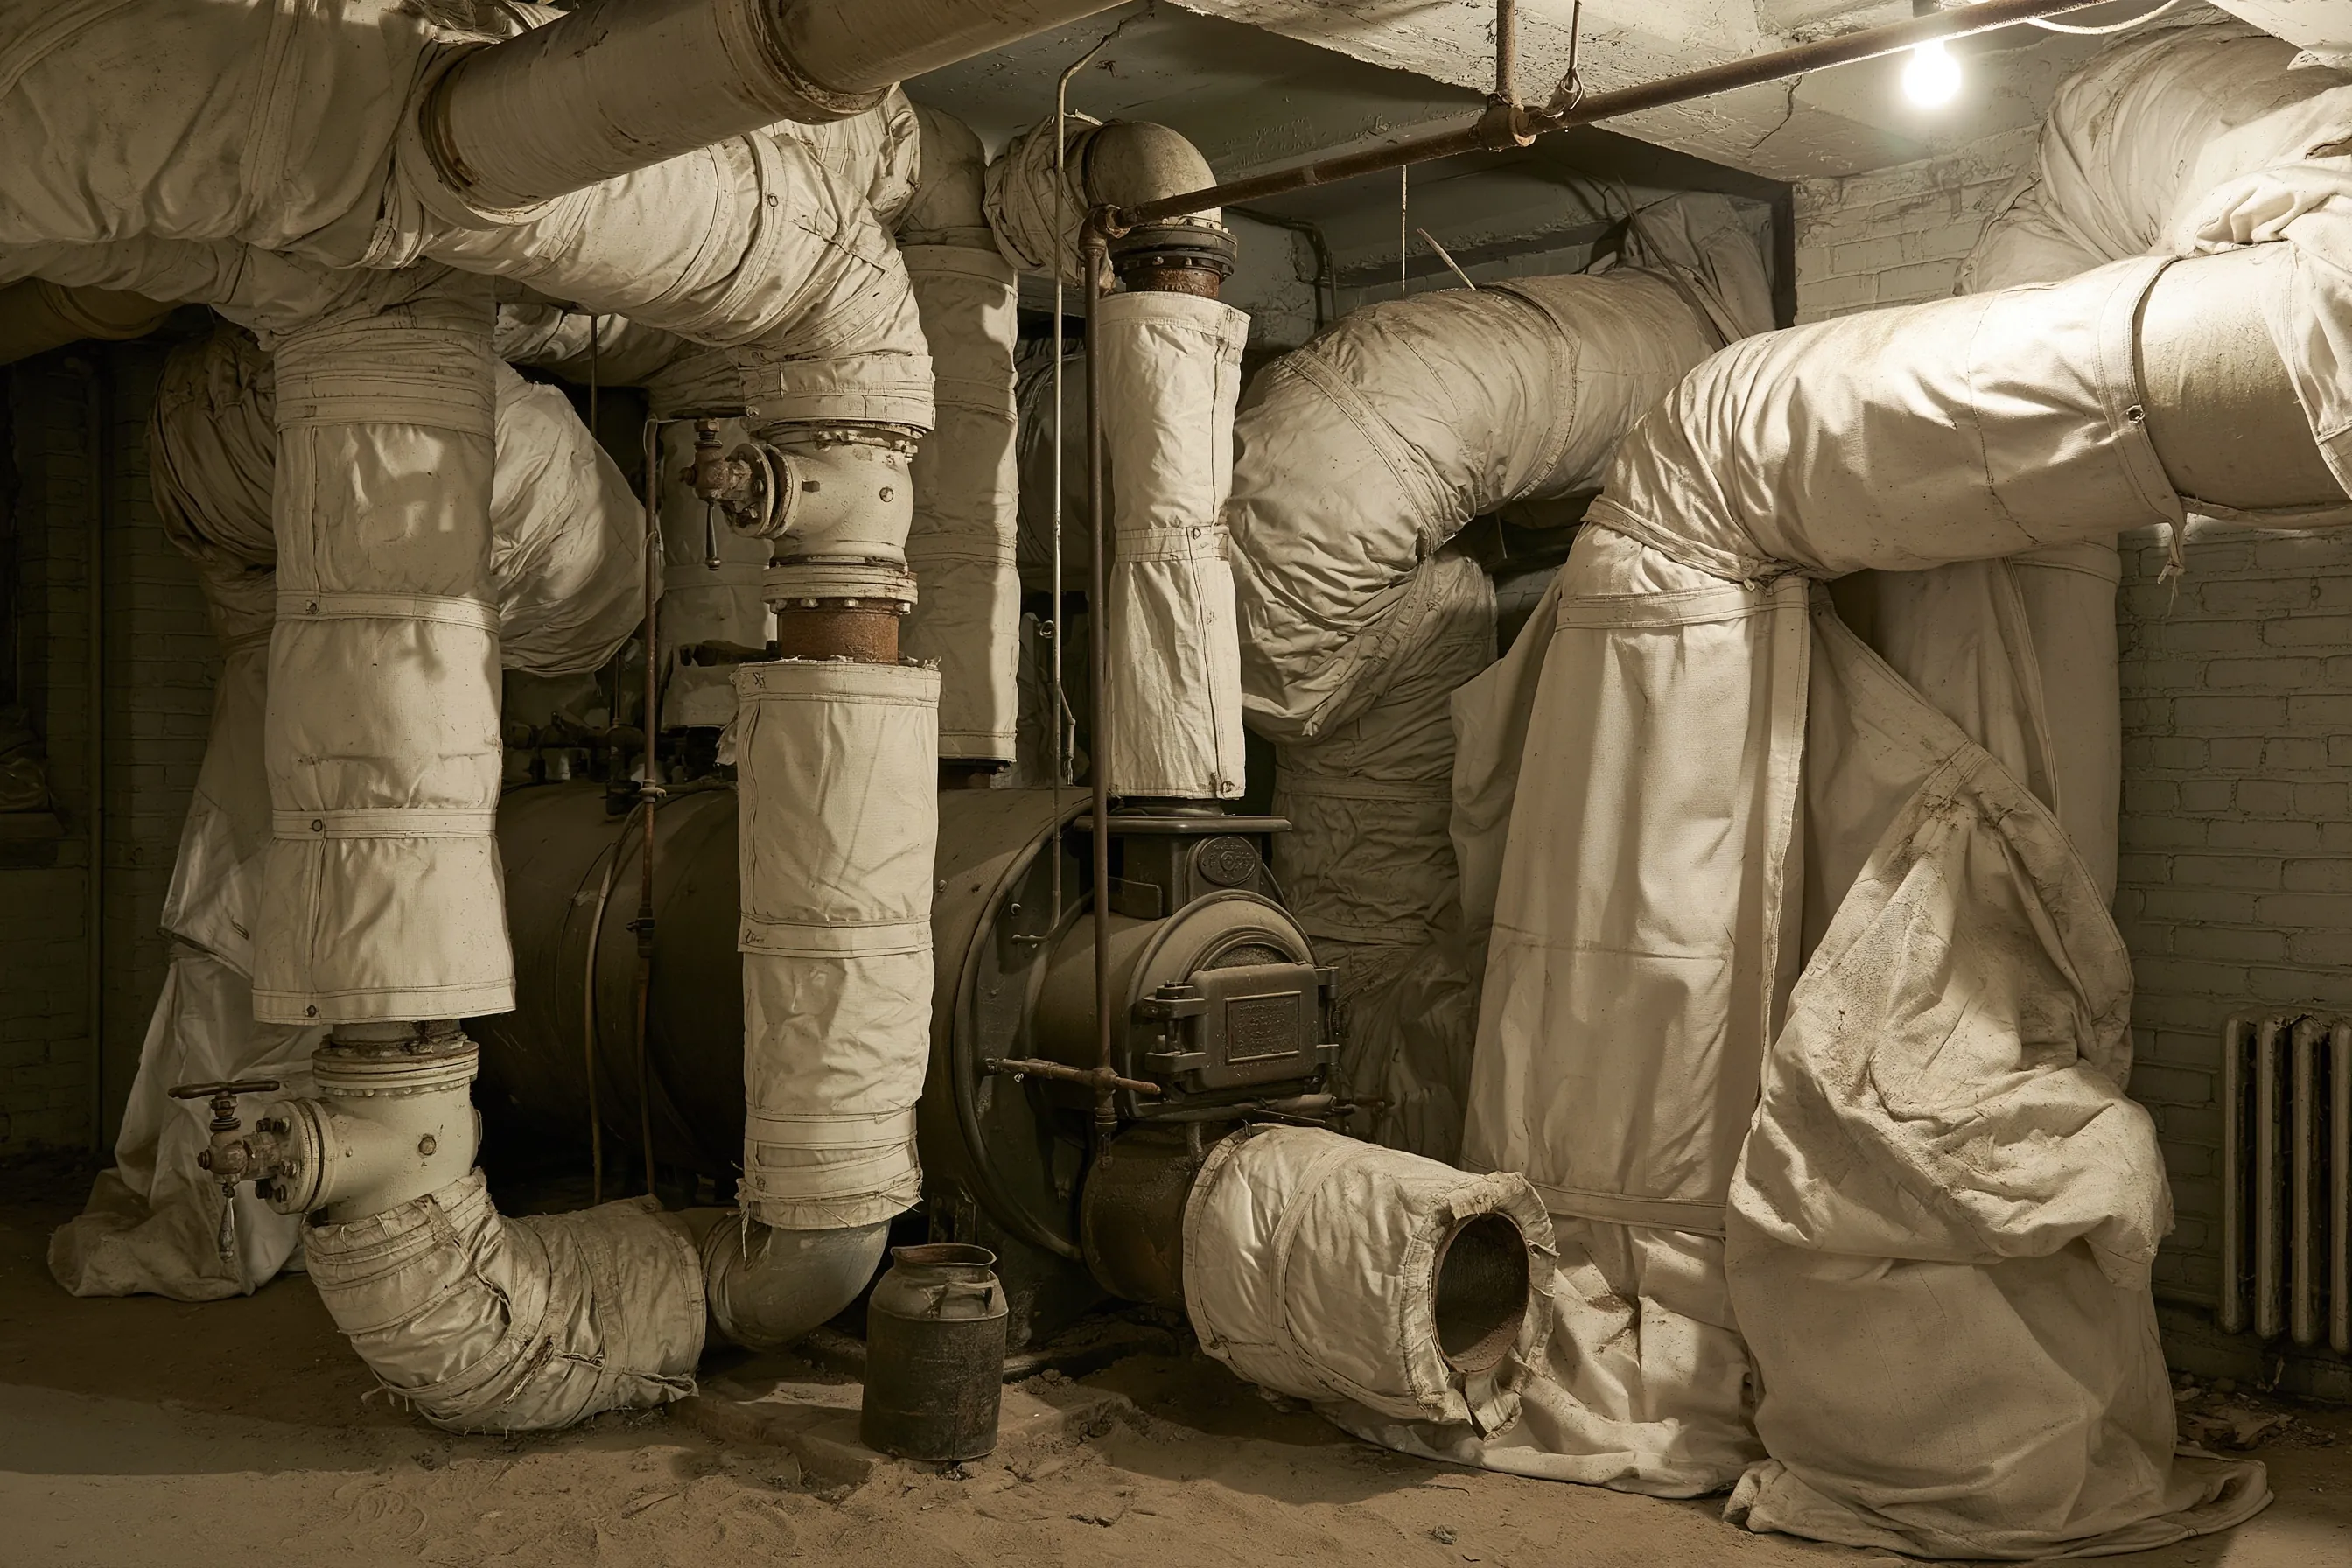
Old basement boiler with heating pipes wrapped in thick white insulation, brick walls and a radiator on the right
Home
1920s two-story house near downtown Antioch, with a full basement and an old boiler
Original request
Move two heating pipes so a laundry and a new water heater fit in the basement
Testing
Lab test of the pipe wrap and the boiler jacket; both contain asbestos
Work
About 40 ft of wrap removed from the runs the plumber will cut; the boiler and its jacket stay
Timeline
Lab results in two or three days, then two days of removal
Estimated cost
$2,600

Scope of work

A sample of the pipe wrap and the boiler jacket, plastic sheeting and a small enclosure around the runs being cut, glove bags on the fittings, the wrap kept wet and cut away, sealed bags, a HEPA vacuum and wet wipe, and a final check. The rest of the wrap and the boiler jacket stay in place and are left sealed. The plumbing is priced separately.

Project overview

In this example, the owners of one of the older houses near downtown Antioch want a laundry and a new water heater in the basement. Two heating pipes are in the way, and like the rest of the system they are wrapped in thick white insulation. The boiler still heats the house, so it stays.

The wrap and the boiler jacket both test positive. Only the 40 ft of pipe the plumber will cut is stripped, inside plastic, which is under the amount that needs a J#. The rest of the wrap is checked for damage and left alone, and the plumber works on bare pipe.

The goal

The goal is bare, safe pipe where the plumber needs it, with the rest of the system left sealed and on record.

Process

  1. First visit Samples of the pipe wrap and the boiler jacket go to a lab.
  2. Before work The runs to be cut are marked with the plumber, and the floor is cleared.
  3. Day one Plastic and an enclosure go up; glove bags go on the fittings.
  4. Day two The wrap is wetted, cut off and bagged, the area is vacuumed and wiped, and the plastic comes down.

Planning right

  • We do not touch wrap that will stay. Cutting into it makes more dust than leaving it sealed.
  • Torn wrap that hangs loose is the part to deal with first, even if no work is planned.
  • Give the plumber a copy of the lab report, so the crew knows which runs are clean.
  • If the boiler is ever replaced, the jacket and the rest of the wrap come off then, as one job.
Get a free quoteMore about HVAC duct and insulation removal

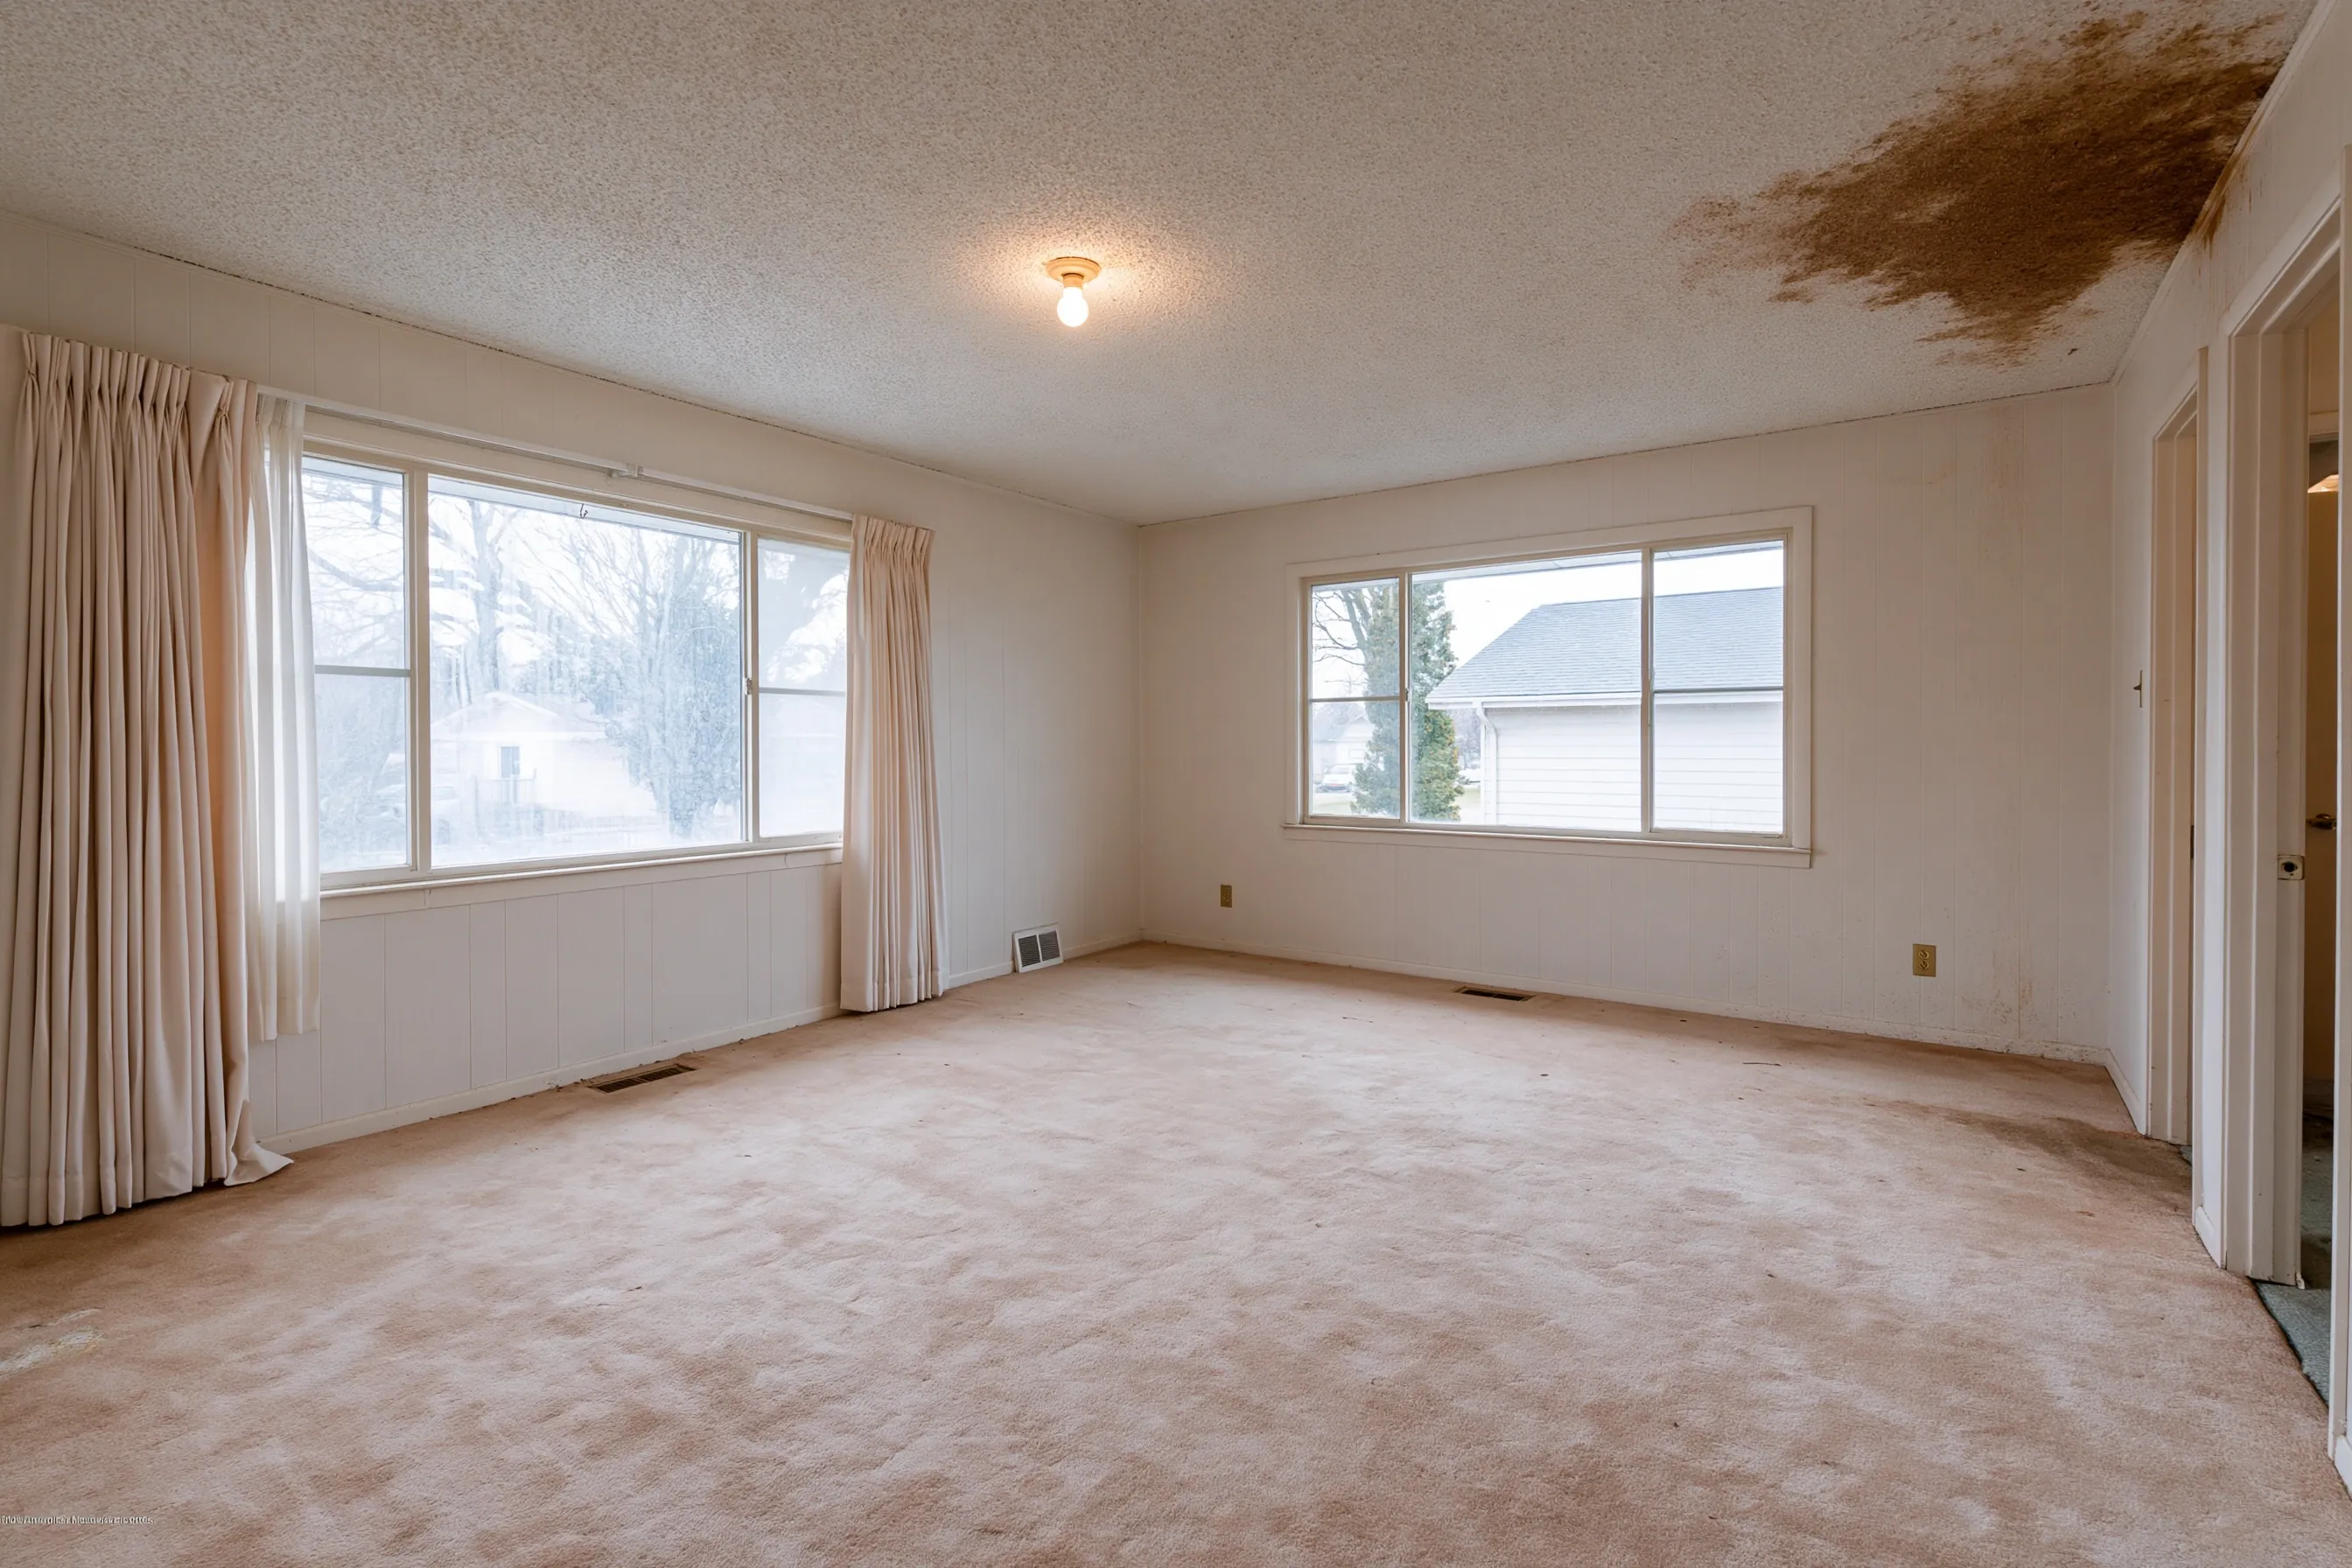
Stained bedroom ceiling where the drywall seams, not the texture, test positive

Example project

Empty carpeted bedroom with two wide windows, a textured ceiling and a large brown water stain in one corner of the ceiling
Home
1970s single-story house in Antioch
Original request
New ceiling drywall in a bedroom after a roof leak soaked one corner
Testing
Separate lab tests of the ceiling texture and the joint compound at the drywall seams
Found
Asbestos in the joint compound; none in the texture
Room
Large front bedroom with two wide windows, about 220 sq ft of ceiling
Paperwork
A J# with the air district, since the whole ceiling comes down
Timeline
Lab results in a few days, the J# wait, then two days of work
Estimated cost
$3,100

Scope of work

Separate samples of the texture and the seams, the room emptied and sealed with plastic, a filtered air unit, the ceiling drywall cut down wet in panels with its texture, sealed bags, a HEPA vacuum and wet wipe, and disposal. The air district fee is listed in the price table. New drywall and paint are extra.

Project overview

In this example, a roof leak over the front bedroom of a 1970s house has soaked one corner of the ceiling, and the owners want new drywall across the whole ceiling. They expect the sprayed texture to be the problem, so both the texture and the taped seams are tested.

The texture is clear, but the joint compound at the seams is positive. Taking the ceiling down means cutting through every seam, so the whole ceiling comes down wet inside sealed plastic, after a J#.

The goal

The goal is a bare ceiling frame ready for new drywall, with the positive seams gone and the room clean.

Process

  1. First visit Samples of the texture and a seam go to a lab; the soft corner is propped.
  2. Before work J# filed with the air district; work can start 10 working days later, or sooner for the rush fee.
  3. Day one Room emptied, carpet covered, plastic up and a filtered air unit set up.
  4. Day two Ceiling drywall misted and cut down in panels, bagged and sealed, then a full clean.

Planning right

  • Texture and seams are different materials. Here the texture was clear and the seams were not.
  • Keep the bedroom door shut and the room empty until the work is done.
  • Ask your roofer to finish first, so the new drywall stays dry.
  • Check whether your home insurance covers the ceiling. Keep the lab report for the claim.

Get a free quoteMore about popcorn ceiling removal

Broken tiles in a laundry room

Example project

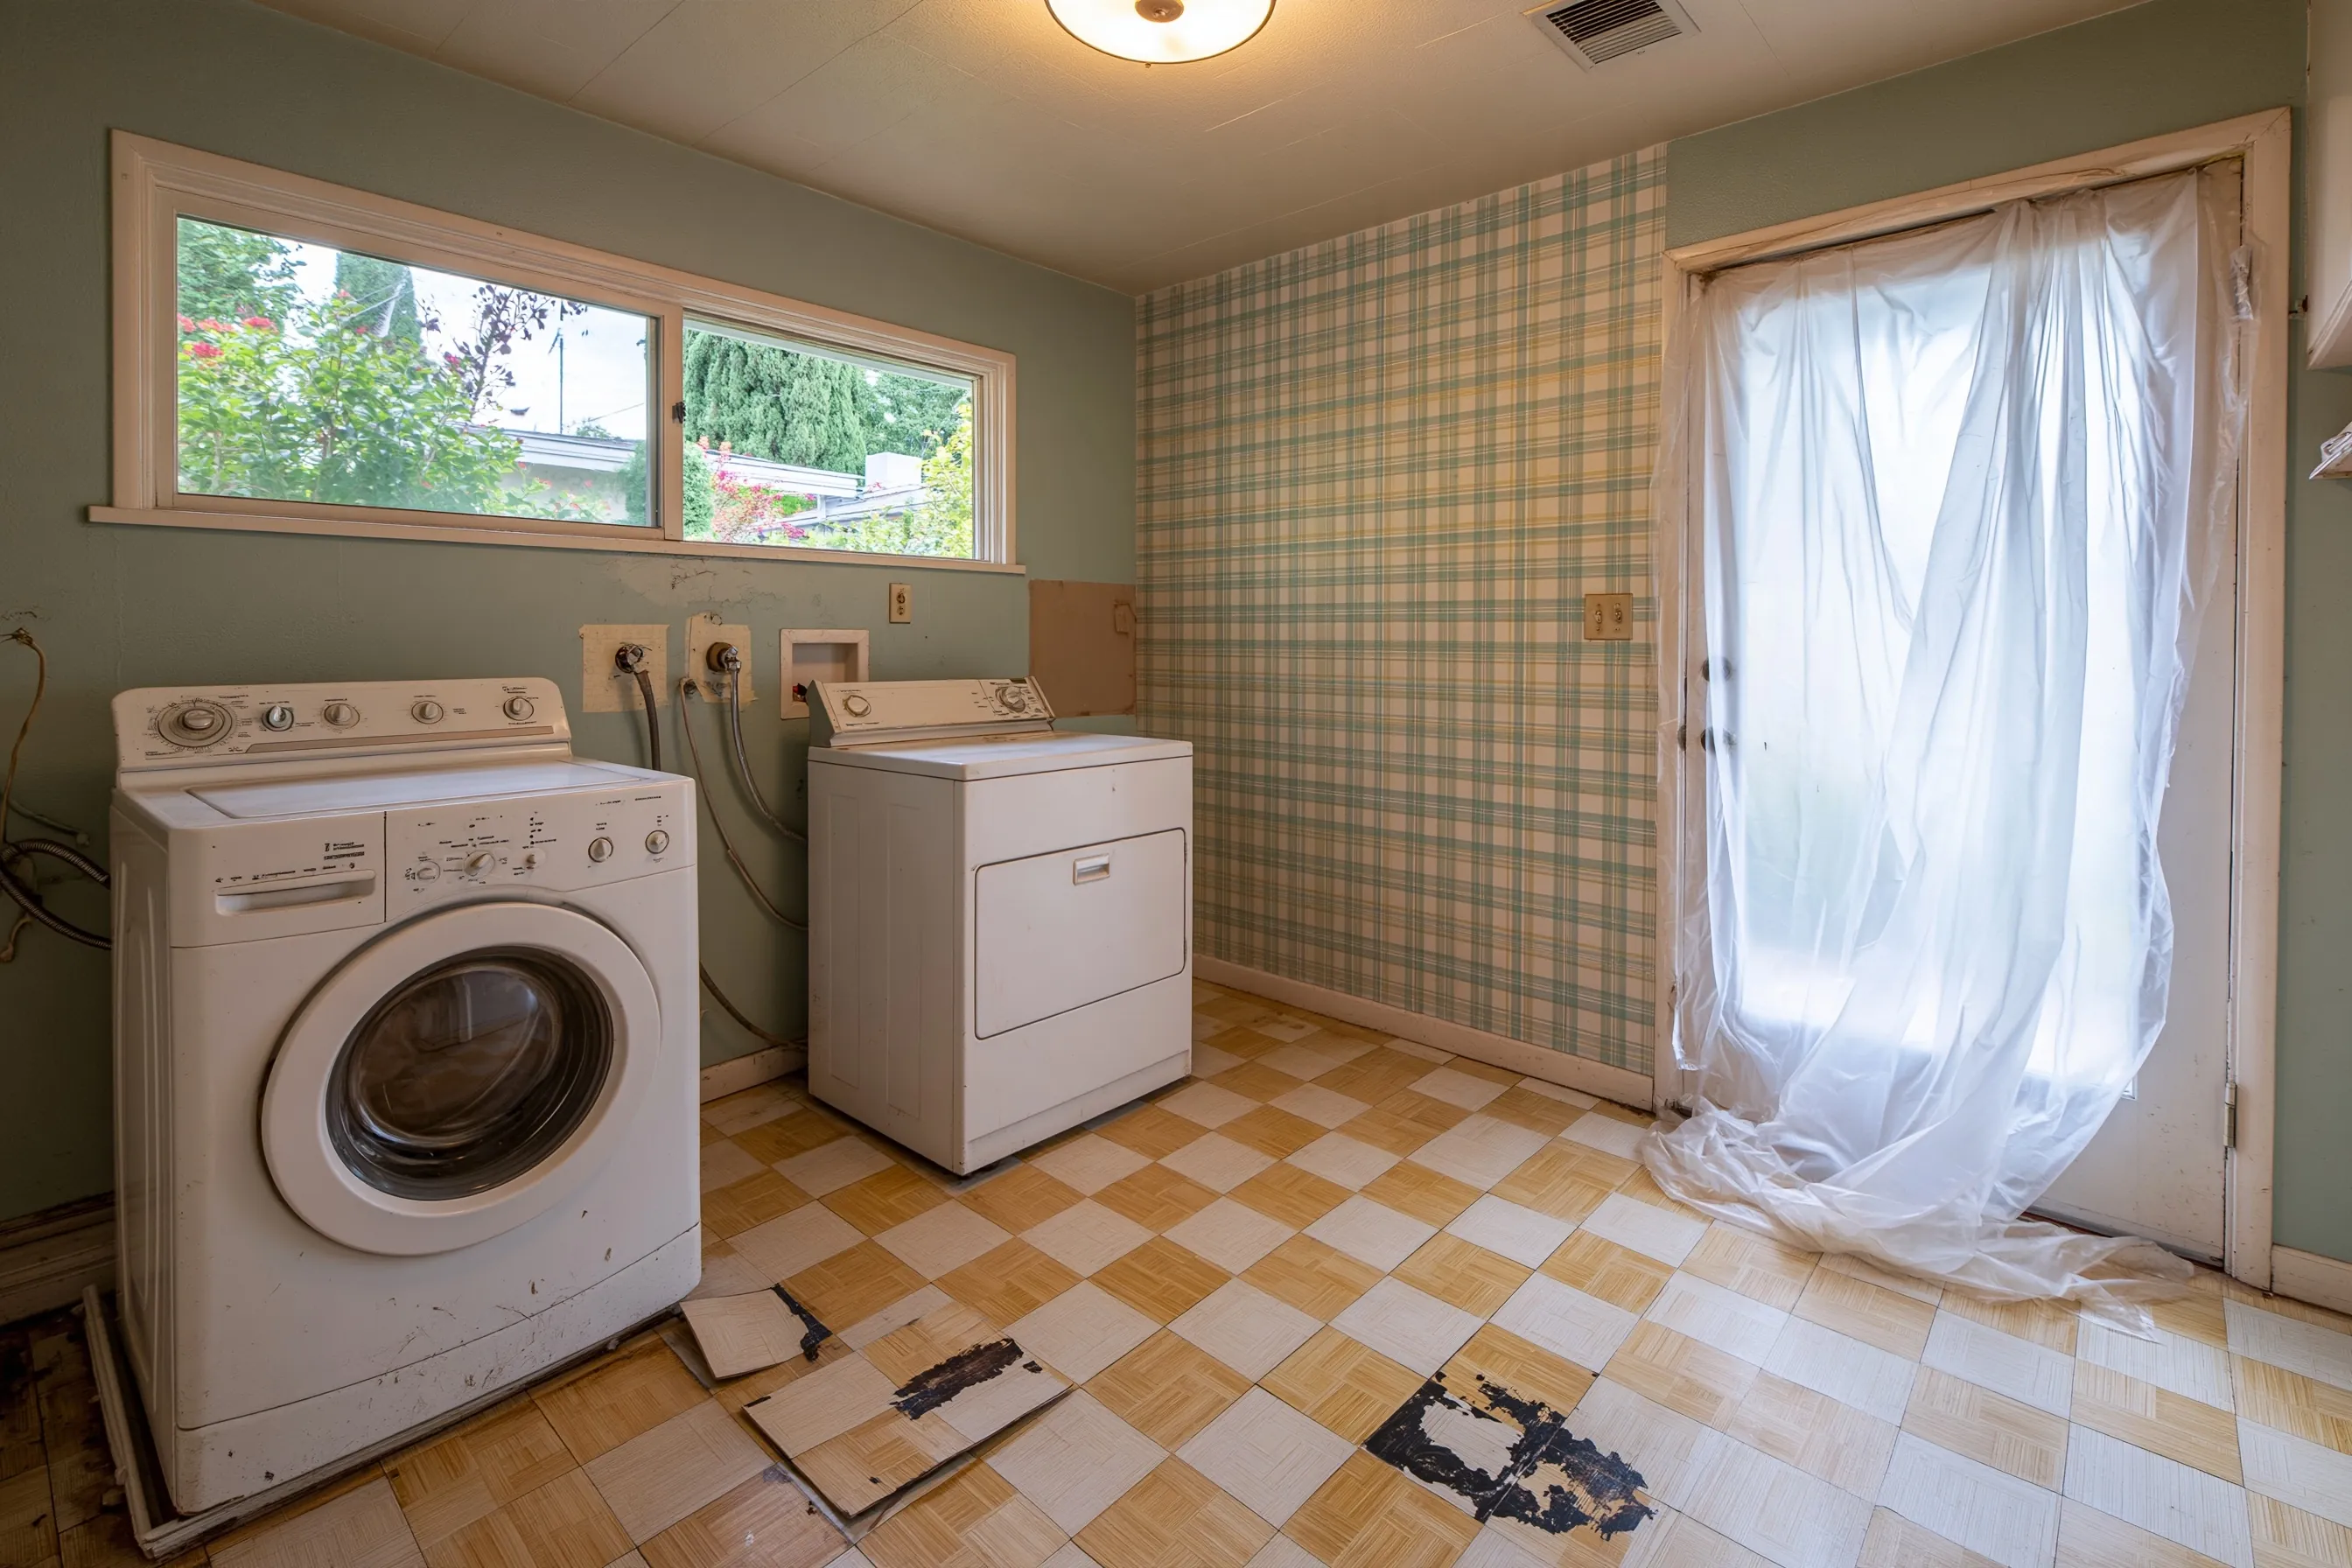
Laundry room with a washer and dryer pulled from the wall, checkered floor tiles lifted and broken over black adhesive, and plastic over the back door
Home
1960s single-story house in Antioch
Original request
Make the laundry floor safe after moving the washer broke several tiles
Testing
Separate lab tests of the checkered tile and the black adhesive
Found
The checkered tile is positive; its adhesive is clear
Room
Laundry room with a back door, about 90 sq ft
Work
Broken pieces picked up wet first, then the rest of the tile lifted whole by hand
Timeline
One day of removal, with the washer and dryer moved aside
Estimated cost
$2,100

Scope of work

A sample each of tile and adhesive, plastic over the back door and doorway, the broken pieces misted and bagged first, the remaining tiles lifted whole by hand, sealed and labeled bags, a HEPA vacuum and disposal. New flooring and moving the appliances back are extra.

Project overview

In this example, the owners of a 1960s house slide the washer out to fix a hose, and several old checkered tiles crack and come loose, showing black adhesive underneath. They stop and leave the room alone.

The tile tests positive and the adhesive under it does not. Whole tiles are not a dust problem, but the broken ones are, so those pieces are wetted and bagged first. The rest of the floor then comes up by hand, so a new floor can go down.

The goal

The goal is a clean, bare laundry floor with the broken tile gone, ready for a new floor and the appliances.

Process

  1. First visit Samples of the tile and the adhesive go to a lab; the broken area is misted and covered.
  2. Removal day Room closed off, broken pieces bagged first, then the whole tiles lifted.
  3. Same day Waste labeled, the floor vacuumed; the clear adhesive is left for the flooring installer.
  4. Then The new floor goes down and the washer and dryer go back.

Planning right

  • If old tile breaks, stop, mist the pieces with water and keep people out of the room.
  • Do not sweep up broken tile with a broom or an ordinary vacuum.
  • Removing intact tile by hand needs no J#, but broken pieces still need care.
  • Ask the plumber to fix any leak before the new floor goes in.

Get a free quoteMore about floor tile and sheet vinyl removal

Cement siding off one wall before a bedroom addition

Example project

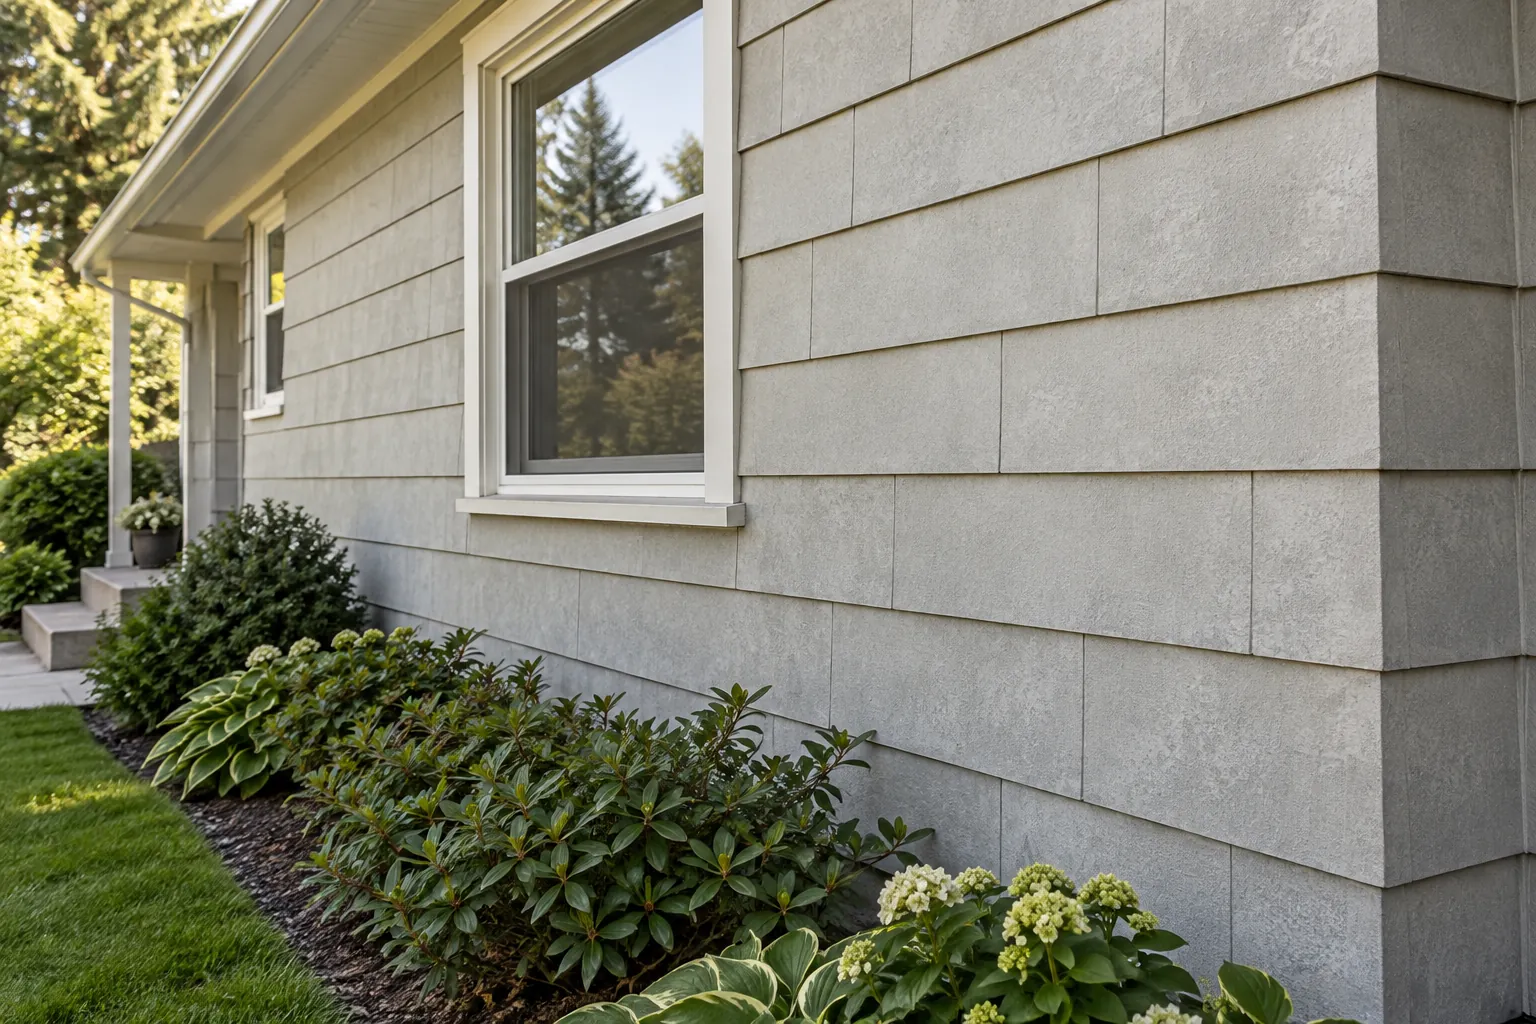
Side wall of a one-story house clad in gray cement shingles, with a white window, a front porch and shrubs along the wall
Home
1950s one-story house in Pittsburg with gray cement shingle siding and a front porch
Original request
Add a bedroom on the side of the house
Testing
Lab test of one shingle shows asbestos cement
Wall
The side wall where the addition will join, about 320 sq ft of siding
Work
Shingles unfastened and lowered whole, kept wet, wrapped and hauled
Timeline
Lab result in a few days, then two days on site
Estimated cost
$4,400

Scope of work

A sample of one shingle, plastic on the ground along the wall, the shingles misted, nails pulled and each piece lowered whole, the pieces wrapped in plastic and taken to a landfill that accepts them, and the ground checked for chips. The addition and new siding are priced separately.

Project overview

In this example, the owners of a 1950s house in Pittsburg are adding a bedroom on the side. The house is clad in gray cement shingles, a common siding on houses of that age, and the addition will tie into the side wall.

A shingle tests positive. Whole cement shingles are not regulated while they stay intact, so each one is wetted, unfastened and lowered, never broken off. The rest of the house keeps its siding, and the builder starts on a bare wall.

The goal

The goal is a bare side wall ready for the addition, with the shingles taken off whole and no broken pieces left in the yard.

Process

  1. First visit One shingle sampled; the wall and the plantings along it are looked at.
  2. Before work Plantings cut back, plastic laid along the wall.
  3. Day one Shingles misted, nails pulled and each piece lowered by hand and wrapped.
  4. Day two Last pieces off, the ground searched for chips, and the wrapped load hauled away.

Planning right

  • Ask the designer early whether the addition will take out part of a bearing wall. That counts as demolition and needs a J#.
  • Cement shingles crack if they are pried or dropped. Broken pieces have to be handled as regulated waste.
  • Do not power-wash cement siding before painting the rest of the house.
  • Keep a few spare shingles only if you plan to patch with them, and store them dry and whole.

Get a free quoteMore about siding, stucco and roofing removal

Asbestos out of a small house before it is torn down

Example project

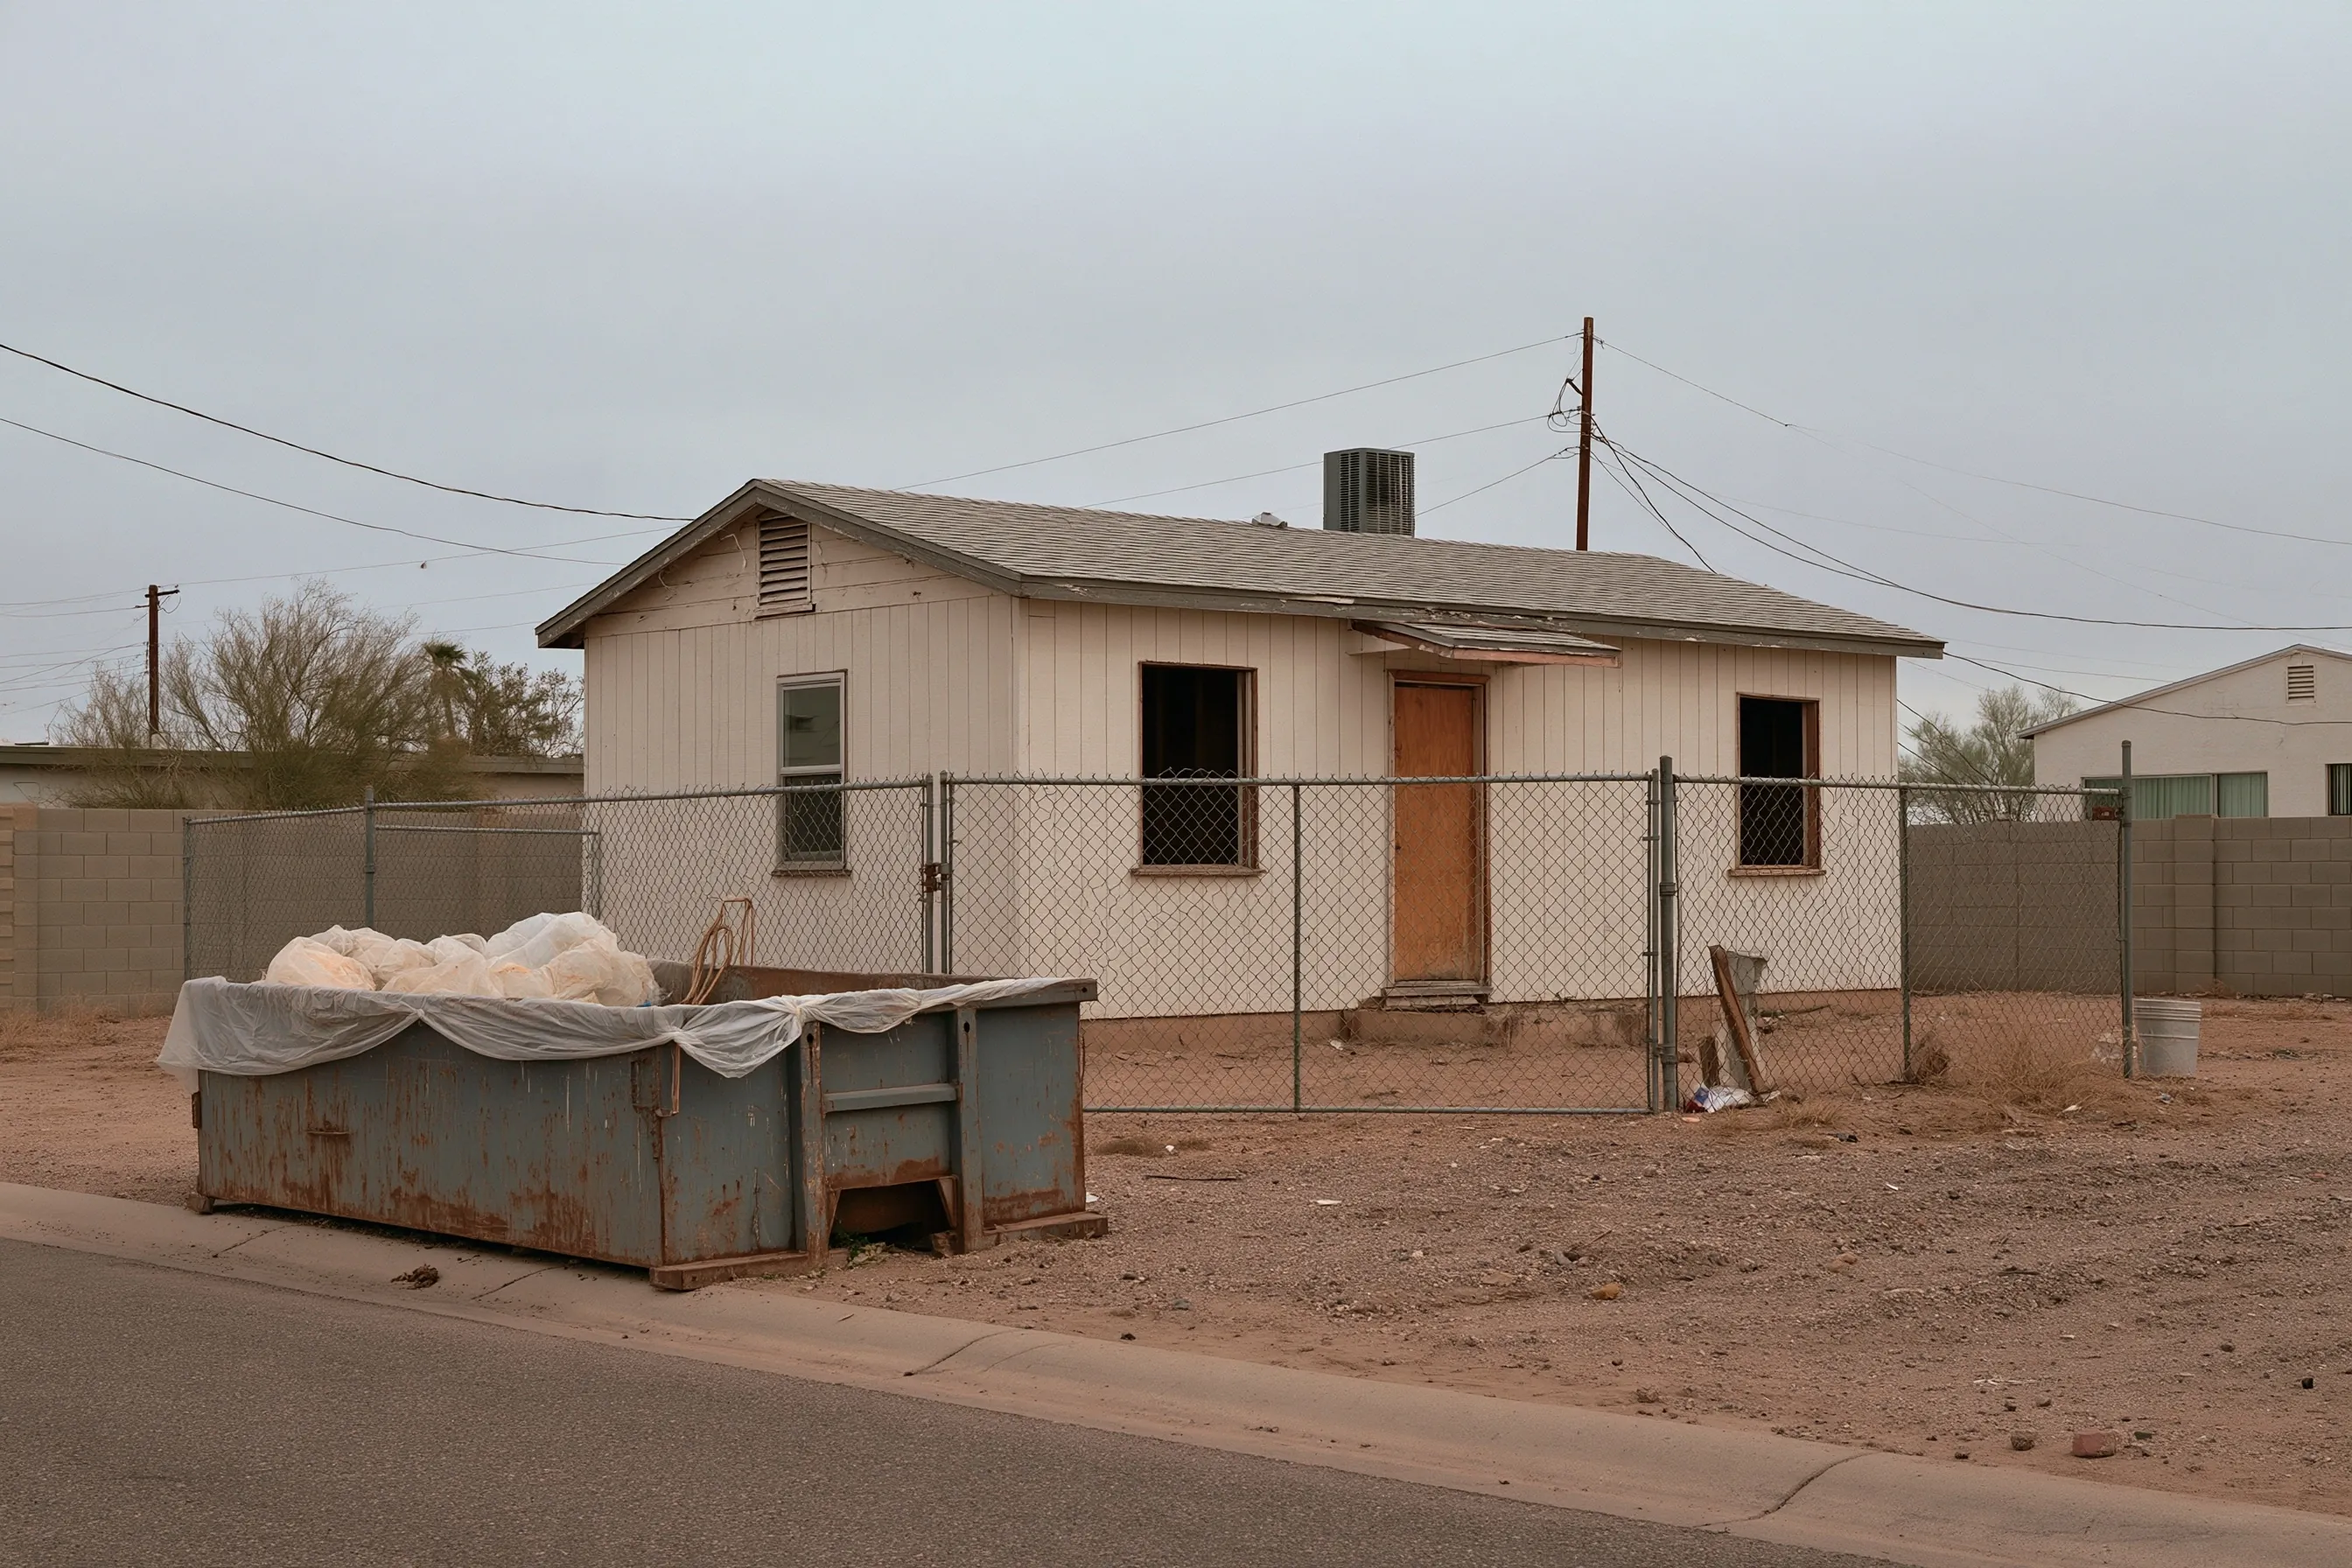
Small single-story house with board siding behind a chain-link fence, with a covered bin of plastic-wrapped waste in front
Home
Small 1950s single-story house with board siding on a fenced lot in Oakley
Original request
Tear the house down and build a new one
Testing
Samples of every material the demolition will disturb
Found
Ceiling texture, the joint compound in every room and a cement flue pipe; the floors are clear
Work
All three materials removed before the machine arrives
Timeline
Testing in about a week, the 10-working-day J# wait, then about five days of removal
Estimated cost
$19,500

Scope of work

Testing of the ceilings, floors, walls, ducts, flue and exterior, then removal of the materials that tested positive, about 900 sq ft of ceiling texture, the drywall with positive joint compound in every room and the cement flue pipe. It includes containment, a clearance air test, wrapped waste and a licensed haul for the friable part. The air district fees are listed in the price table, and the demolition is priced separately.

Project overview

In this example, buyers of a small 1950s house on a fenced Oakley lot plan to replace it with a new one. Under the air district rules, any demolition needs a J# even if nothing tests positive, so the testing starts as soon as the purchase closes.

Three materials come back positive and the floors are clear. The ceiling texture and the drywall with positive joint compound come down inside sealed plastic, and the flue pipe comes out in one piece. Only then does the demolition crew bring in the machine.

The goal

The goal is an empty house with every positive material gone, so the demolition can go ahead on the permit date.

Process

  1. Week one Samples of every material the demolition will disturb; lab results and a written report.
  2. Next J# filed for the demolition and the removal; the 10-working-day wait runs.
  3. Removal week Ceiling texture and drywall taken down wet room by room, flue pipe removed whole and wrapped.
  4. Last day Clearance air test, then the house is handed to the demolition crew.

Planning right

  • The city demolition permit usually asks for the J#, so file it early.
  • Sheds, pump houses and garages coming down with the house need testing too.
  • Friable waste leaves with a licensed hazardous waste hauler, not in an ordinary dumpster.
  • Keep the report and the waste records. A lender or the next buyer may ask for them.

Get a free quoteMore about renovation and demolition abatement

Request a free asbestos removal quote

Tell us what you plan to change, roughly when the house was built and whether anything has been tested. Include the address in Antioch, Pittsburg or Oakley. We'll get back to you soon with an estimate or any questions we have. Estimates are free and there's no obligation.

Call (925) 281-4697

Call (925) 281-4697